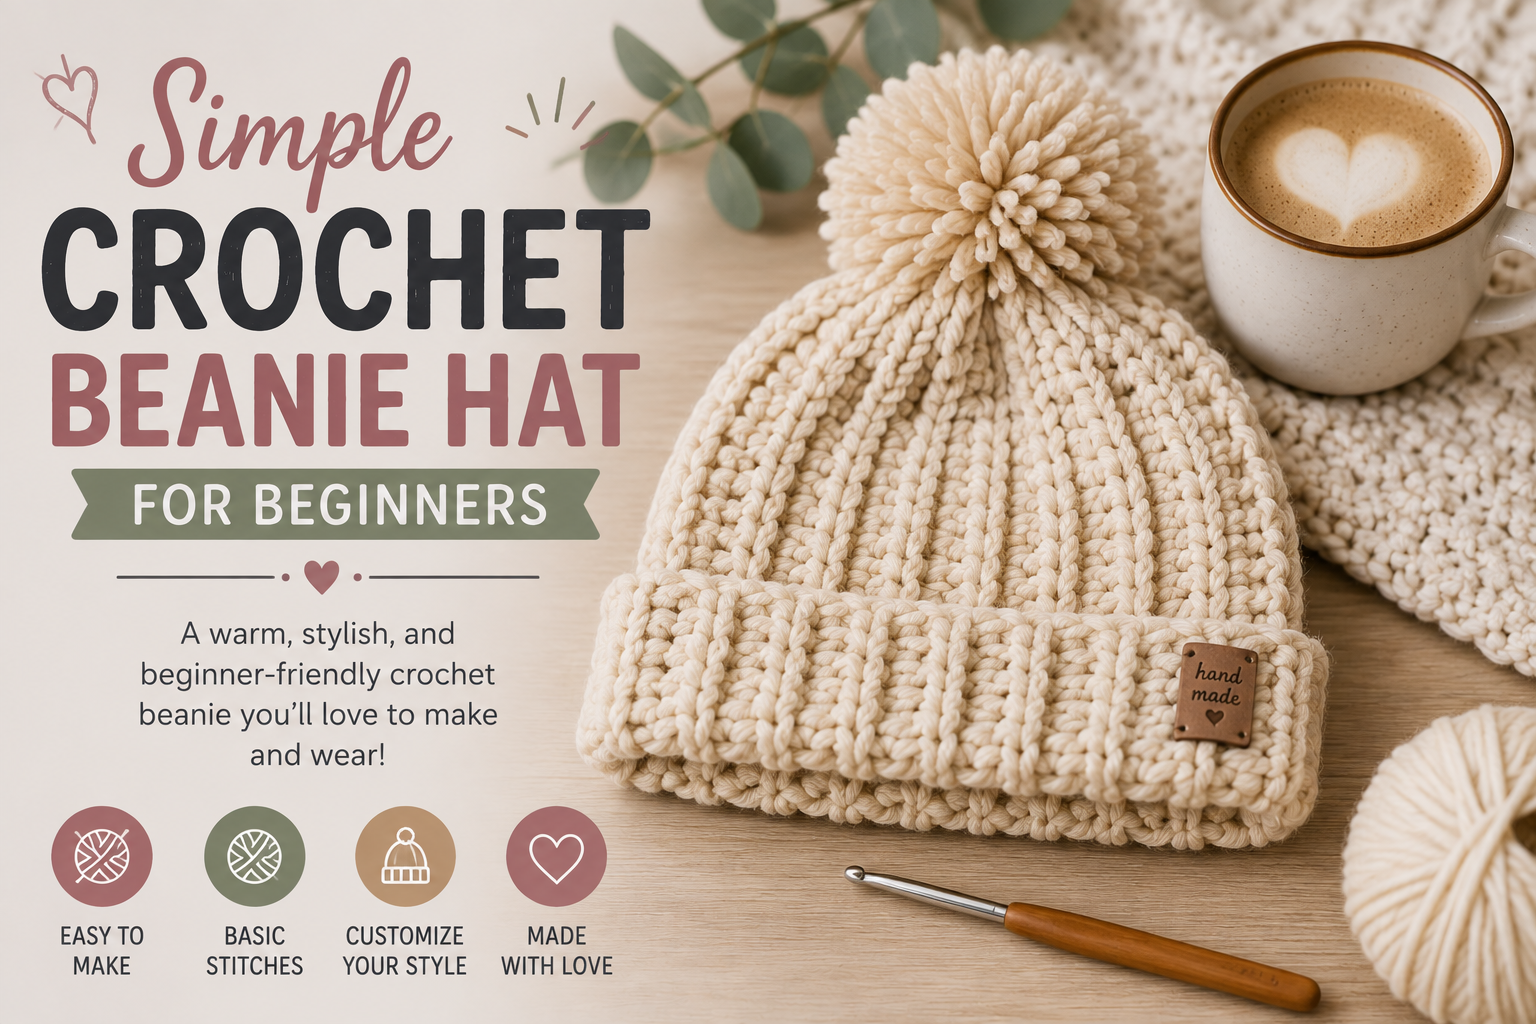
Simple Crochet Beanie Hat for Beginners
This simple crochet beanie is the quintessential wearable project for anyone looking to make their first handmade garment. Soft, stretchy, and endlessly customizable, a handmade beanie combines cozy practical warmth with classic ribbed elegance.
Whether you are crafting a cozy winter accessory for yourself or creating thoughtful handmade holiday gifts for loved ones, this comprehensive tutorial guides you through yarn selection, sizing measurements, stretchy ribbing construction, and crown cinching.
Materials & Supplies You’ll Need
- Yarn: 1 skein (approx. 180–200 yards) of soft medium worsted weight yarn (#4), such as acrylic-wool blend or premium soft acrylic.
- Crochet Hook: 5.5mm (US Size I-9) or hook size required to obtain gauge.
- Measuring Tape: Flexible tailor’s tape to verify head circumference and hat length.
- Tapestry Needle: For seaming the sides and gathering the crown.
- Scissors: Sharp fabric scissors.
- Optional: Faux-fur pom-pom or yarn pom-pom maker for a whimsical finish.
Essential Stitches & Abbreviations
- ch: Chain stitch
- sl st: Slip stitch
- hdc: Half double crochet
- blo: Back loop only (working only into the rear loop of each stitch to create flexible ribbing)
- st(s): Stitch(es)
How Sizing & Negative Ease Work
Because crochet ribbing is elastic, beanies are crocheted with approximately 1 to 2 inches of negative ease. This means the finished hat circumference will measure slightly smaller than your actual head circumference, allowing it to gently stretch and fit snugly without sliding down.
- Baby / Toddler: 16–18 inch head circumference (height: 7 inches)
- Child / Teen: 19–21 inch head circumference (height: 8.5 inches)
- Adult Small/Medium: 21–22 inch head circumference (height: 9.5–10 inches for folded brim)
- Adult Large: 23–24 inch head circumference (height: 10.5–11 inches)
Step-by-Step Beanie Construction
Step 1: The Foundation Chain (Determining Hat Height)
Start with a slip knot and chain 38 (or your desired length for an adult beanie with a 2-inch fold-over brim). Add 2 extra chains for turning.
Row 1: Establishing the Half Double Crochet Base
Starting in the third chain from your hook, work 1 half double crochet (hdc) into each chain across. Turn your work. (38 stitches total).
Row 2: Creating the Ribbed Texture
Chain 2 (does not count as a stitch). Work 1 hdc into the back loop only (blo) of each stitch across the row. The front loops will remain untouched, forming a distinct raised ridge resembling knitted ribbing. Turn.
Rows 3 through 42: Building the Circumference
Repeat Row 2 until your flat ribbed rectangle measures approximately 19–20 inches unstretched when gently pulled. This will comfortably fit an average adult head.
Step 4: Seaming the Sides into a Tube
Fold your rectangle in half so the short ends align. Using your hook, slip stitch through both layers along the edge, or sew together with a tapestry needle using a mattress stitch.
Step 5: Gathering the Crown
Thread an 18-inch strand of yarn onto your tapestry needle. Weave the needle in and out through the edge of every other row around the top opening. Pull the yarn tail tightly like a drawstring to cinch the hole closed. Fasten off with multiple sturdy interior knots, and attach your optional pom-pom securely!
Pro Tips for a Boutique-Quality Finish
- Count Stitches Every 5 Rows: It is easy to accidentally drop or add a stitch at the turning edges. Keeping your stitch count constant ensures clean rectangular edges.
- Steam Block Lightly: A gentle steam with an iron held 2 inches away relaxes synthetic or wool fibers, giving the brim extra softness.
Frequently Asked Questions
Can I make this beanie slouchy?
Yes! To add slouch, simply add 6 to 8 chains to your starting foundation chain (e.g. chain 44 instead of 38) so the finished rectangle is taller before gathering the top.
What yarn is best for sensitive skin?
Look for OEKO-TEX certified acrylic, bamboo-cotton blends, or superwash extrafine merino wool to prevent forehead itching.

One Comment
Comments are closed.