Easy Granny Square Crochet for Beginners
Learning how to crochet a traditional granny square is the ultimate rite of passage for every beginner maker. Granny squares are endlessly versatile, rhythmic to stitch, and provide the perfect canvas for practicing consistent tension and clean stitch geometry while creating heirloom-quality handmade treasures.
Once you understand the basic construction of working double crochet clusters in rounds from the center outward, you can join individual squares to craft cozy blankets, vintage tote bags, stylish cardigans, pillow covers, and cozy home accessories.
What Is a Crochet Granny Square?
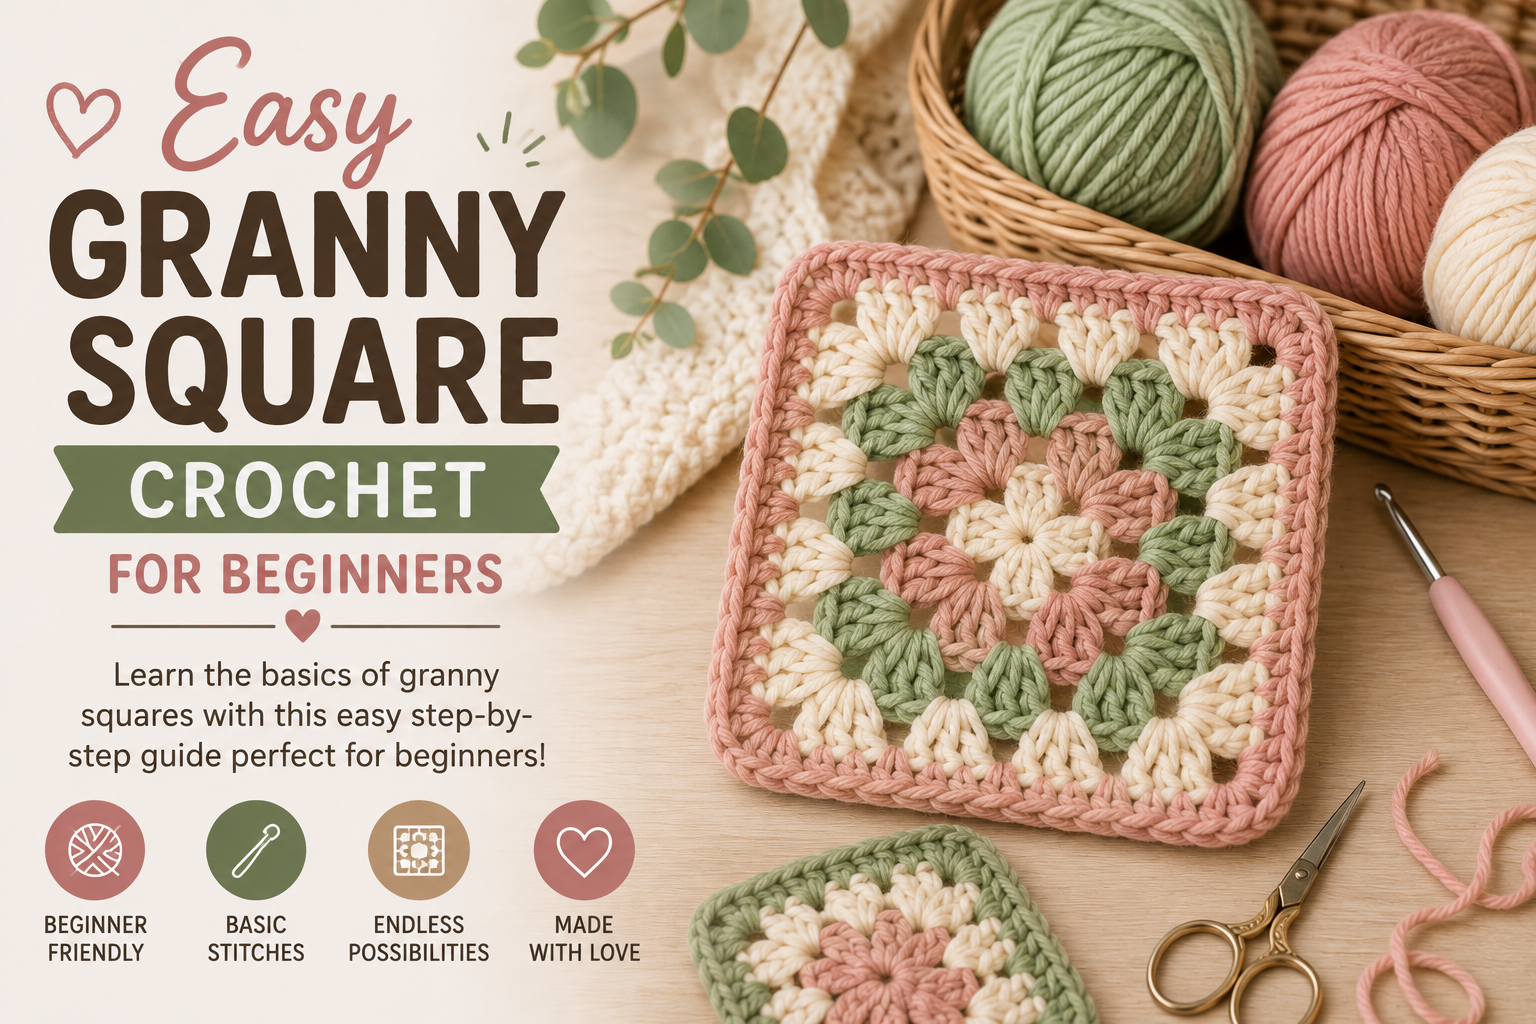
A classic granny square is a small, modular crochet motif worked in rounds from the center outward. Traditional granny squares use 3-double-crochet clusters (often called “granny clusters” or “shells”) separated by chain spaces. The four corners feature distinct chain spaces that turn the fabric at crisp 90-degree angles, creating the unmistakable square shape.
Granny squares are especially beneficial for beginners because each round builds upon identical stitch patterns, allowing muscle memory to develop quickly.
Materials & Supplies You’ll Need
To crochet your first granny square, gather the following supplies:
- Yarn: Medium worsted-weight yarn (#4). For learning, we highly recommend a smooth 100% acrylic or cotton-blend yarn in a light, solid pastel color (avoid dark black or fuzzy novelty yarns).
- Crochet Hook: 5.0mm (US Size H-8) ergonomic hook suited for worsted weight yarn.
- Tapestry Needle: Bent-tip blunt yarn needle for weaving in tails securely.
- Scissors: Sharp craft embroidery scissors.
- Locking Stitch Markers: Handy for marking your first corner or counting rounds.
Essential Crochet Stitch Abbreviations
Before beginning, review these standard US crochet terms:
- ch: Chain stitch
- sl st: Slip stitch
- dc: Double crochet
- sp: Space (such as a corner ch-2 space or ch-1 space between clusters)
- cluster: Group of 3 double crochet stitches worked into the same space
- yo: Yarn over
Step-by-Step Instructions: The Classic Granny Square
Step 1: The Foundation Ring
Start with a slip knot on your hook. Chain 4 (ch 4), then insert your hook into the first chain and work a slip stitch (sl st) to join into a small center ring. (Alternatively, you may use a magic ring if you are comfortable with that technique).
Round 1: Establishing the Center Clusters
Chain 3 (counts as your first double crochet stitch). Work 2 double crochets into the center ring (first cluster completed).
Chain 2 (creates your first corner space). Work 3 double crochets into the ring, followed by ch 2 (second corner).
Work 3 double crochets into the ring, followed by ch 2 (third corner).
Work 3 double crochets into the ring, followed by ch 2 (fourth corner).
Join with a slip stitch into the top of the beginning chain-3. You will now have 4 clusters of 3 double crochets and 4 distinct corner chain spaces.
Round 2: Expanding the Corners
Slip stitch across the next 2 stitches and into the first corner space. Chain 3 (counts as 1 dc). In the same corner space, work: 2 dc, ch 2, 3 dc (first corner cluster pair complete).
Chain 1. In the next corner space, work: (3 dc, ch 2, 3 dc). Repeat around for all remaining corners.
Join with a slip stitch into the top of your initial chain-3. You now have 8 clusters total (2 in each corner).
Round 3 & Beyond: Growing Your Square
As you add additional rounds, work (3 dc, ch 2, 3 dc) in each corner space, and work (3 dc, ch 1) into each straight edge space between corner clusters. Continue adding rounds until your square reaches your desired finished dimensions!
Creative Color Combinations to Try
Part of the magic of granny squares is mixing and matching colors:
- Classic Multicolor: Switch yarn color every round for vibrant retro flair.
- Two-Tone Alternation: Alternate between warm cream and earthy terracotta for an artisanal palette.
- Solid Modern: Stitch monochrome squares in soft sage or oatmeal for minimalist texture.
Expert Tips for Crisp, Flat Granny Squares
- Turn Your Work Each Round: Turning your square over after each round prevents the center from twisting or leaning clockwise over time.
- Check Corner Chain Counts: Always ensure you have exactly 2 chains in every corner space to keep edges straight.
- Steam Block Your Squares: Lightly pinning your finished squares to foam blocking boards and steaming them creates razor-sharp 90-degree corners and identical dimensions for effortless joining.
Frequently Asked Questions
Why is my granny square curling up into a bowl?
Curling usually indicates your tension is slightly too tight, or you missed a chain stitch in your corner spaces. Try going up half a millimeter in hook size (e.g. from 5.0mm to 5.5mm) or relaxing your yarn hold.
How do I join granny squares together?
You can join squares using a slip stitch seam through the back loops for a flat invisible seam, a mattress stitch with a tapestry needle, or a decorative single crochet join on the right side for bold texture.
How many squares do I need for a blanket?
A cozy baby blanket typically requires 30 to 40 medium squares (6×6 inches each), while a standard throw blanket uses approximately 70 to 90 squares.